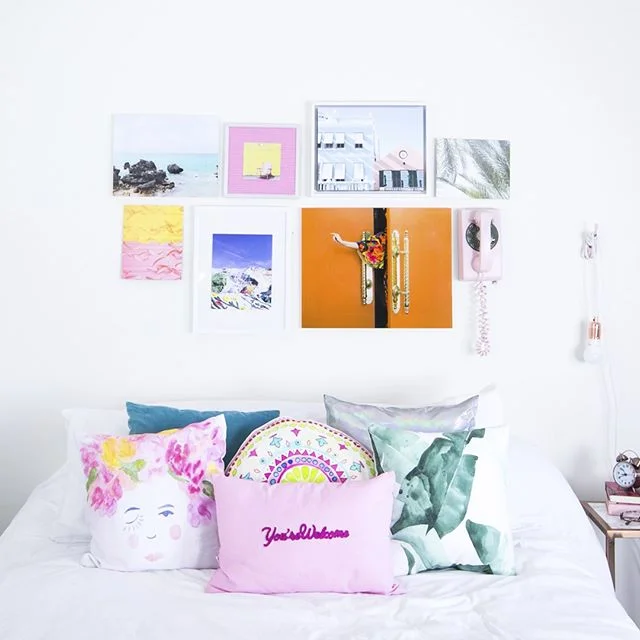
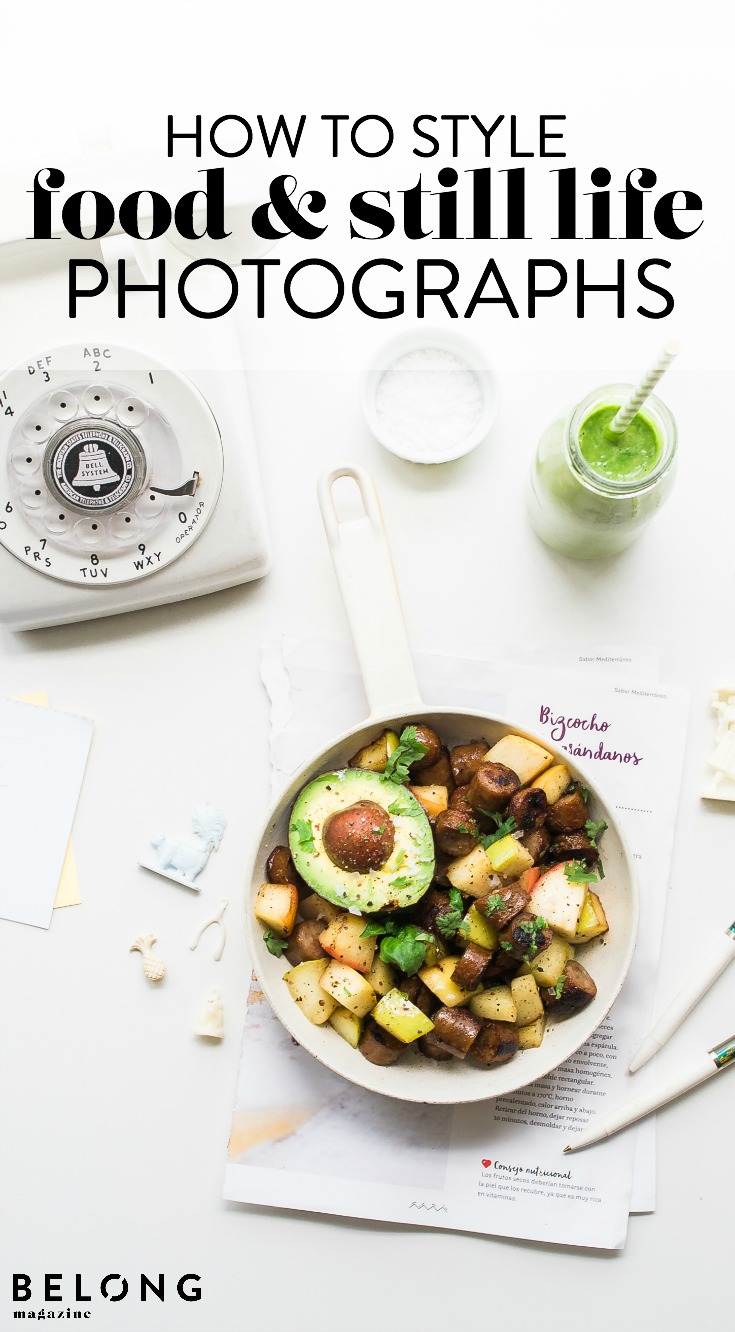
How to Style Food & Still Life Photographs››
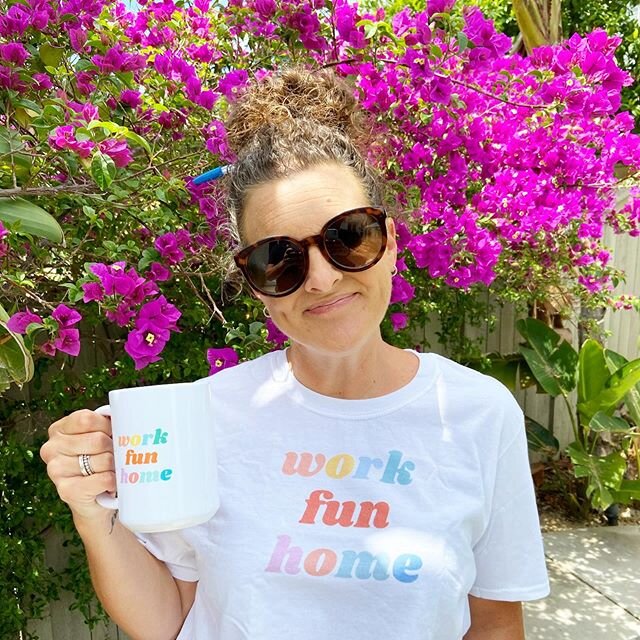
/GUEST POST BY STEPHANIE OF LIFE CREATED
I find that many creative business owners fall into their endeavors through a series of events all dictated by following one passion at a time. Almost 7 years ago, that is what happened to me.
In 2009 I was experiencing the birth of my first daughter and my husband being deployed. I had my point and shoot camera and a newly-opened ETSY shop selling random sewn items, and paper invitations. (We can write another entire post about brand focus later... HA!)
I remember being so nervous about convincing brides that my invitations were worthy of their special day. What birthday themes could I create on paper? What items would I need to make them "legit" and worth a decent price? After I had made the items in my shop, the big struggle came. Besides sourcing all of my supplies and hand-making everything, I had to make these things communicate the 3 vital things: quality, value and purpose.
How do I show those in a picture? How do I compete among the see of images online already?
Granted, in 2009, Instagram wasn't the beast it is today. Blogs were still being discovered and the digital DSLR camera boom was in the baby stages.
During nap times I used my fold-up Walmart TV tray and the pink Olympus point and shoot camera my husband had bought me before he left. Turning a product I had created into a beautiful subject in a 2-D format was proving to be more difficult than I had thought. Little did I know, future years would teach me so many things to do and not do when trying to take pictures of a variety of products on my own at home. Now I have photographed anything from restaurant dishes, cupcakes, cakes and cookies to bed sheets, wedding stationery, candles, flowers and crafting supplies. All of these opportunities led me to writing my ebook all about shooting your own small business photography!
Let's talk about ways you can make you own photos for your business a success at home!
First Considerations
I soon learned that some shoots of products took a bit of planning. I wanted to style my shots according to the product, so determining the extra items needed in my product shots was essential. Remembering the product needed to be the "main event" of the shot, each invitation had a different style and bride I was trying to attract. All pictures need to be properly exposed, not blurry and have good composition, but also:

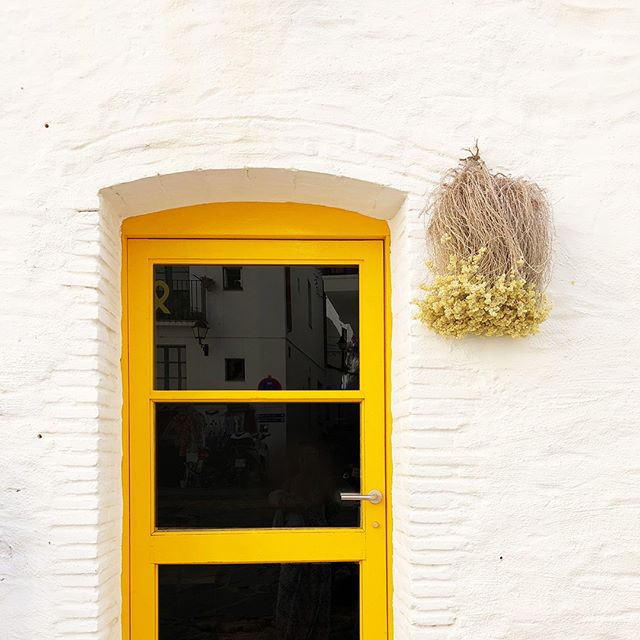
1 / READ YOUR LIGHT
My first consideration is always where the light will be. What lighting style do you need for your shoot? Are you going for dark and moody or light and airy? Tour your home, even outdoors. Read the direction of the light. When shooting your products, beware of other considerations like the scene set around your product, the coordination of colors you are shooting, and also the shot list of images you will be needing. Having a list of these expected shots and details beforehand helps your shoot to be a success. Stay away from shooting around walls or objects that have bold colors that can color-cast onto your subject...even your clothing can do this!

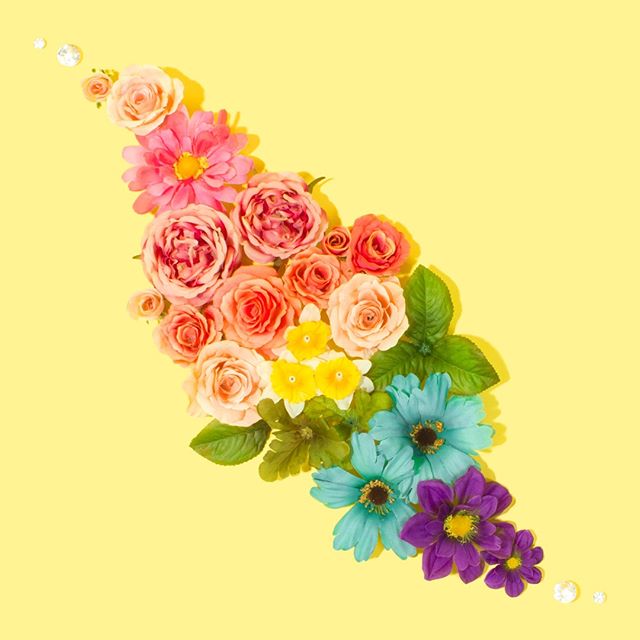
2 / STYLE RIGHT
Any product shots you take at home need to exhibit your style, or the style of the client who hired you, and attract the target customer.
Along the way in running your business, you will find the things that work and don't work for you. Maybe you like a dark and moody style vs a light or airy style. Perhaps you like to shoot from one specific angle...whatever it is, identify your style and brand trends. Stick to those with your product shots, always practicing and growing your style. What colors do you involve? What does your audience love about you?

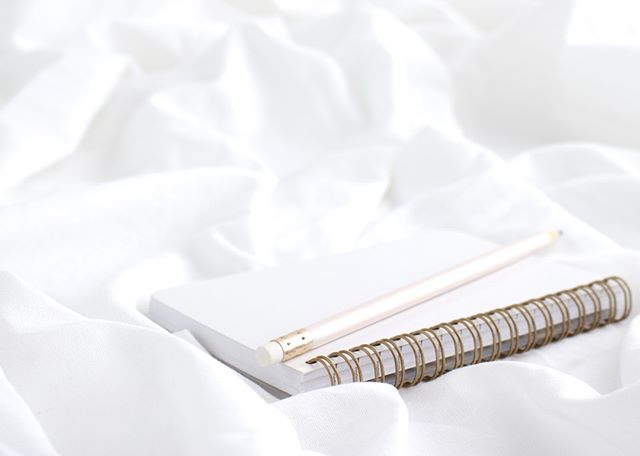
3 / KEEP YOUR IMAGES AUTHENTIC
All of my images are as "true" as they can be, meaning I don't fake a lot of ingredients in my food shots, and I like to show real life situations for the products. When it comes to editing, I keep my images with a clean edit, not covering them with a bunch of filters or changing the colors. Especially with food and product photography, you want your images to be as real and true as possible. If you find yourself needing more flexibility in your images, shoot further back giving you some open space where you can add text later! Also consider shooting a set-up in both a vertical and horizontal format so you have choice later.

4 / DON'T STOP PRACTICING
With more shooting, you will find your favorite spot in your house, your go-to props, and some styling tricks that work for you. Just by practicing, you can learn so much! Get it as right in camera as you can, so you have less work to do when you get to your computer.

Stephanie is a mom of 3 living in Arizona. She owns a professional photography + photo styling business that helps provide small businesses with photography support. Her primary job is being a mom, but loves that her "other job" lets her be creative and meet so many other creative ladies all over the US. Find her at Life Created.
you might also like:


join us on instagram